


She has really good taste and I love all her clothes!

This is her Chiffon Pleated Maxi skirt that inspired me to create one :D
And guys it is not cheap! Regular prices are ranging between $50 and $60 for just ONE! Unless they are on sale you can get them for half their original price. But still I will not and can not afford to spend $30 on a pair of skirt that I can easily make for so much less! So I went and grabbed me some fabrics and got to work.
This was the only time I went to a fabric store and actually spent $20 total on a couple of fabrics and elastic band. The only exception since I haven't been able to find any chiffon, silk or materials of that sort while thrifting:( I've always wanted a maxi skirt in a blue indigo color and I was so happy when I was able to find it at Hobby Lobby. So here is a step by step DIY!
What you will need:


And of course...

Start of by taking your measurements.
Waist- where you want the elastic. I want mine high so it was a few inches above my belly button-- the smallest part of my waist. Add an inch for your seam allowance.
Length- How long or short you want your skirt. In my case, I wanted a maxi skirt so I measured from my waist to my ankle. I added a couple inches for the hem.
Here were my measurements:
Waist: 27 inches + an inch (Elastic)
29 inches (Fabric) I wanted a fuller bottom.
Length: 38 1/2 inches + 2 inches
Once you have your measurement,
you are now ready to start!
Fold your fabric in half.

Measure & cut your fabric.

Ironing the pleats!
Unfold your fabric and starting from one end measure about 1 1/2
inches and fold. Once folded, iron it from top to bottom.

Have you ever made a paper fan before?
It is the same process only this time you are working with a fabric.

Fold and press with iron until you have a long strip like
the picture below.

When you open the fabric, it should look this. (Picture Below)
You can now sew both ends together.
You will have a big tube with an opening on both sides.

Fold the bottom hem and pin all around.
I did the top as well since it's a silk material
to prevent it from shredding apart
when it is washed.
to prevent it from shredding apart
when it is washed.

Sew the hem all around.
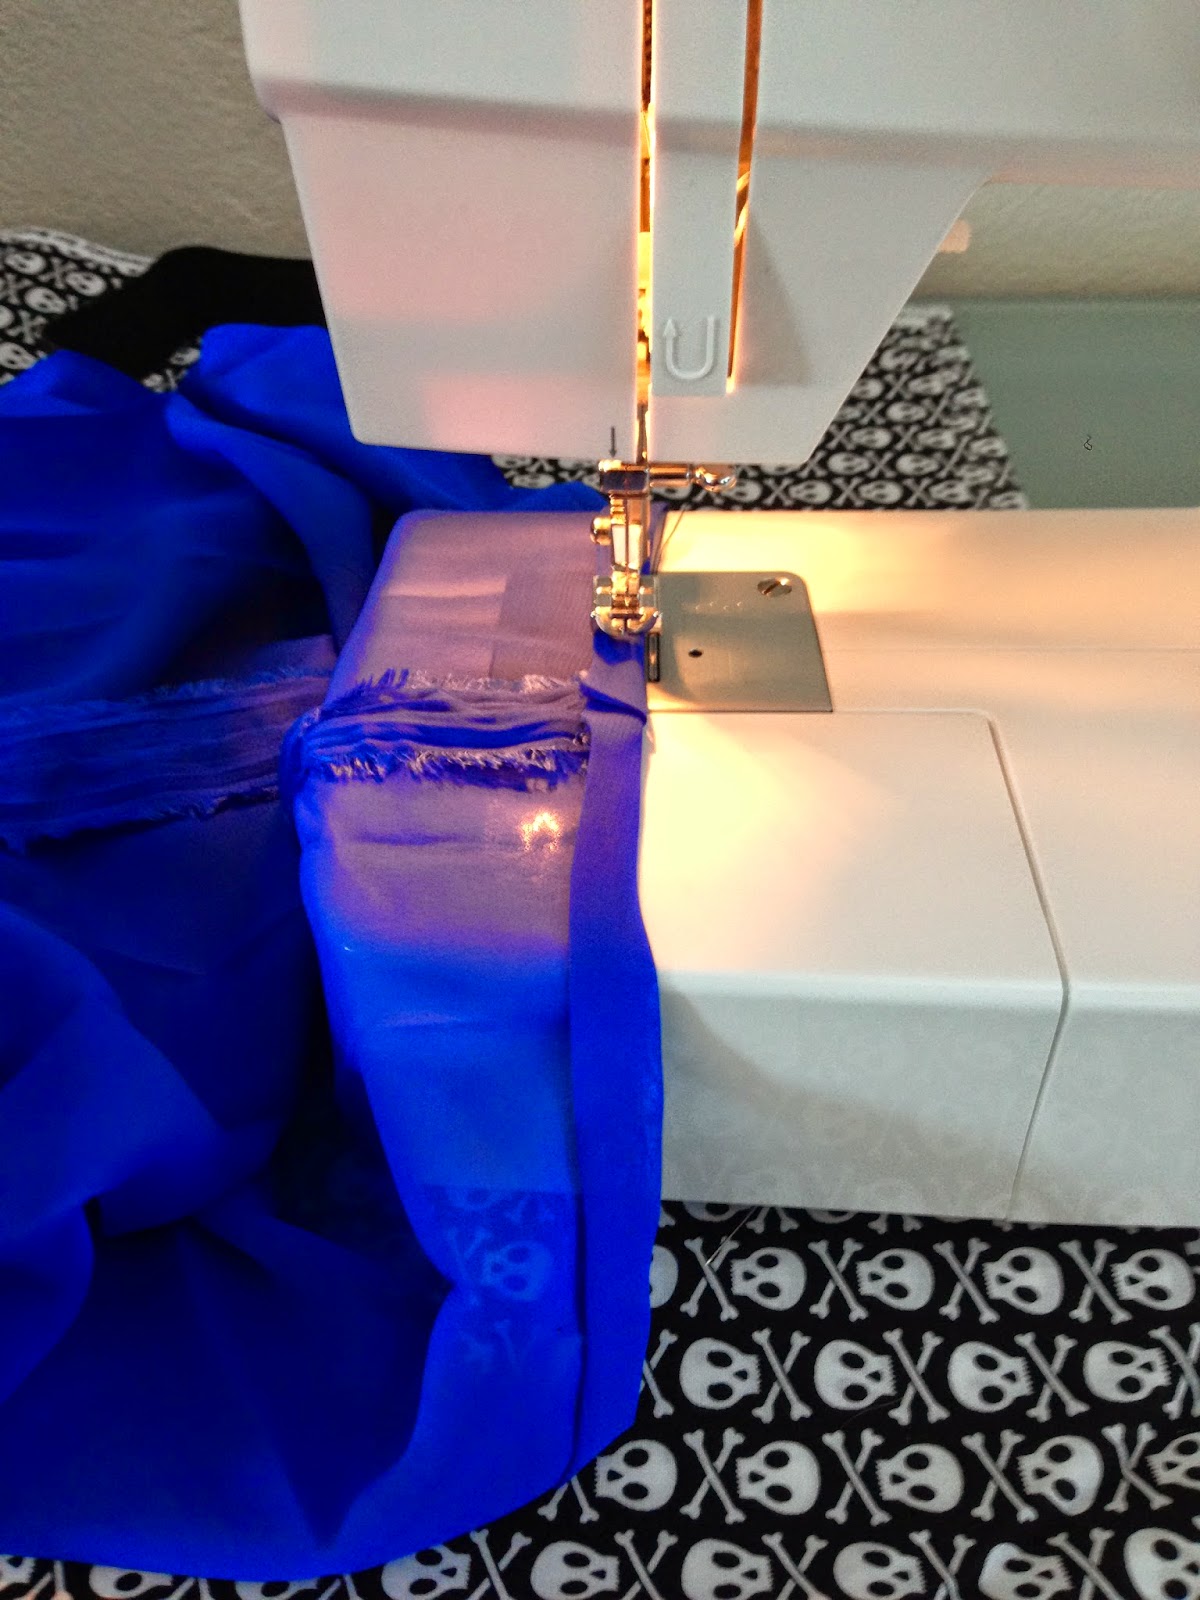
Okay guys here is where things changed a little! When I was about ready to attach the elastic to the skirt I realized that because my measurements were off a little, it wouldn't work. Remember I had cut the width of my fabric at 29 inches and my elastic band was 27 inches? Yes, that was the problem. But I had a legitimate reason for that...I wanted the bottom of my skirt to be a little fuller so I can at least walk around in it! I was so sad because I didn't want to take it all apart and redo the whole thing again. But I am glad this wasn't the first maxi dress that I've done and I have learned from my previous projects some tricks and ways to fix little problems like these. So the solution to my problem was an elastic thread!
Here it is...so I changed my bobby thread
to this and sewed the top of the skirt all around.
As you sew the fabric will begin to ruffle.
The skirt began to take shape and
I was now able to attach the elastic!
The skirt began to take shape and
I was now able to attach the elastic!

Sewing the elastic to the skirt.
I used the smallest zig-zag stitch all around.
I used the smallest zig-zag stitch all around.
Pull the elastic towards you as you sew.

And Viola! Here it is without
the lining.

I was so excited when it was all done! The black polyester will be the lining of the skirt. As you can see from the picture, I have not attached it yet. But since I wanted to wear this for the 4th of July, I just slipped in a black thin skirt under and it worked just fine. The lining would have to be another project because I have not done any skirt lining before and I still need to do some research and figure it all out. Haha! But I was so proud of myself because it only took me a day and half to fix this cute skirt :)
But do you get the picture? You can save a ton of money by making your own clothes! You might run into some problems here and there, few errors from time to time...but it is so much FUN! Hope you enjoy this DIY :D
~Only in Ree's Closet~
No comments:
Post a Comment