Wednesday, July 9, 2014

Elastic Maxi Skirt with Pockets

Guys! I think I am addicted to sewing. I am so HOOKED I can't seem to leave my sewing machine alone. Ha ha. Well I made another maxi skirt, this time with pockets and a more higher waist. And I LOVE IT! And guess what? I used a bed sheet that I came across while I was thrifting. I loved the pattern and color so heck, let's be creative AND it only cost me a buck!!! So here's the tutorial. I got inspired by this lady who I came across her blog a month ago. So if my tutorial does not make sense, check hers out here.

1. Measure:
Waist + 2-3 inches more- depending
on how full you want the bottom of your
skirt to be.
Elastic: where you want the skirt
to sit. Waist - 2 inches or where
you feel comfortable at.
Length + 6 inches for casing and
hem.


2. Cut your fabric.


3. And then cut in half so you have
two skirt panels.


4. Pockets!!! I bought these
pockets at a yard sale for $0.50. I wanted
to use it for something else so I just used
them as a pattern. 


5. I thought they were too long so I
folded it in half and traced around
to create my own pockets using the
remainder of my fabric.


6. I needed four pockets. (Next time I think I
will just use the original size of the pockets
that I used as a pattern.)


7. Measure from the top of the skirt 6 inches down 
then pin your pockets.


8. Pin the pocket and skirt right sides together.
(The picture doesn't seem like it...that
was the first error I had)


9. Sew the pockets to the skirt panel. 
Just one side only.


10. Iron the seams down so that the 
pocket is on the outside.


11. Pin the skirt panels together 
and the pockets.


12. Sew one side of the skirt make
sure going around the pocket.


13. It should look like this after.
You have a POCKET!!!


14. Measure the top  for the elastic.
I used a 1 1/2 inches elastic so I 
added another 1/2 inch. 


Then of course, Laien decides 
to help delay the project...


15. Iron the top fold for the casing
all the way around. 


16. Stitch away...


17. Pin the remaining two pockets to 
the other side of the skirt.


18. Now let's get to the bottom of
this skirt. Fold about 1/4 inch in and 
do another fold, press with an iron...


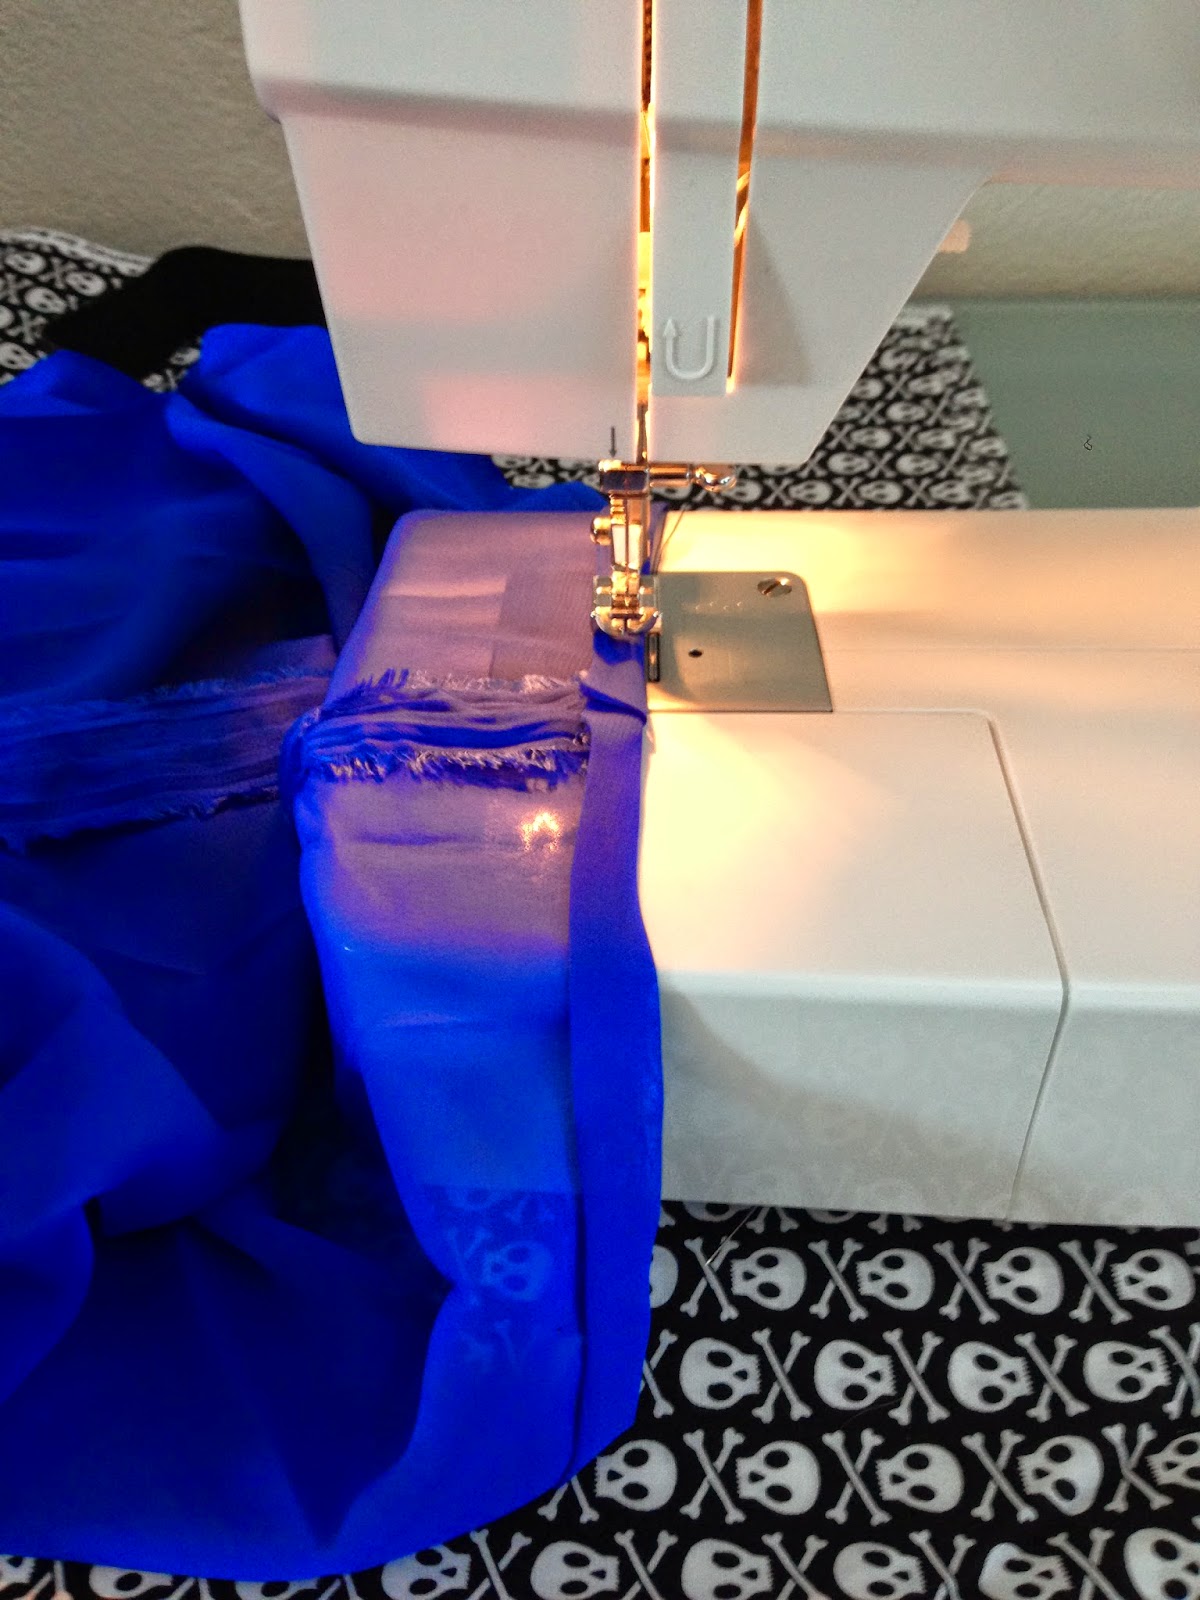
19. Then run it through.
Whirrrr.....


20. Now you can attach the other side.
Sewing the two panels together 
making sure you are going 
around the pockets. Also, make
sure you leave an opening on the casing
for the elastic. 


21. Time to run the elastic through.
Pin one end with a safety pin
and run it through the casing.


22. Once you've run the elastic through,
and now have the elastic out on both
ends...Stitch 'em up and close up
your opening. 

***Again, Laien is being very helpful***


 Then it is all done!


Love the pockets!


This boy is such a momma's boy! Won't be surprised if he starts playing dress up by the sewing machine while I'm stitching away. Hope this tutorial made sense. Leave a comment below to tell me what ya think :)


~Only in Ree's Closet~


Monday, July 7, 2014

One Difficult Project

One of the sister missionaries asked if she could give me a skirt for me to refashion. This was a month and a half ago and I finally just finished it a couple of days ago. That's how difficult this project was for me. There were times I felt like just giving up and bringing it in to a professional to fix it.

So here's the original dress. She had cut the dress and brought the bottom part for me to just create a  band for it. I had to ask her to bring me the rest of the dress so I could use it to create the skirt band.


I had to cut 4 inches from the top of the original dress to create the waist band.
After a few adjustments and errors, I was able to attach the band
to the skirt. 


Folded the top of the waist band in and sewed it all around to create
a clean finish. Then created the casing for the elastic band.


Run the elastic through then sew up the opening.


All done  with this skirt! Haha...I spent so much time on this skirt.
Kicked my butt big time...Phew! Glad its done and it looks great.


So when they came for dinner on July 4th we had some extra time for me to take a picture of her wearing the skirt. I love the pattern on the skirt and it went really well with the red blouse she was wearing. The skirt had two pockets on the front so I thought I'd add buttons on the pockets so that it looks FUN.

Saturday, July 5, 2014

DIY Pleated Maxi Skirt

One of my favorite department store is Kohl's. I used to shop there a lot! I still do on occasions, but have not been lately. And when Lauren Conrad launched her clothing line there...I got even more excited to shop there. If you don't know who Lauren Conrad is, check her out here. I love her style and got to know her through a couple of her T.V shows, Laguna Beach and The Hills. Here are some of her styles that I love...


She has really good taste and I love all her clothes!


This is her Chiffon Pleated Maxi skirt that inspired me to create one :D

And guys it is not cheap! Regular prices are ranging between $50 and $60 for just ONE! Unless they are on sale you can get them for half their original price. But still I will not and can not afford to spend $30 on a pair of skirt that I can easily make for so much less! So I went and grabbed me some fabrics and got to work.
This was the only time I went to a fabric store and actually spent $20 total on a couple of fabrics and elastic band. The only exception since I haven't been able to find any chiffon, silk or materials of that sort while thrifting:( I've always wanted a maxi skirt in a blue indigo color and I was so happy when I was able to find it at Hobby Lobby. So here is a step by step DIY! 

What you will need:


And of course...


Start of by taking your measurements.
Waist- where you want the elastic. I want mine high so it was a few inches above my belly button-- the smallest part of my waist. Add an inch for your seam allowance.
Length- How long or short you want your skirt. In my case, I wanted a maxi skirt so I measured from my waist to my ankle. I added a couple inches for the hem.

Here were my measurements:
Waist: 27 inches + an inch (Elastic)
             29 inches (Fabric) I wanted a fuller bottom.
Length: 38 1/2 inches + 2 inches


Once you have your measurement,
you are now ready to start!
Fold your fabric in half.


Measure & cut your fabric.


Ironing the pleats!
Unfold your fabric and starting from one end measure about 1 1/2 
inches and fold. Once folded, iron it from top to bottom.


Have you ever made a paper fan before?
It is the same process only this time you are working with a fabric.


Fold and press with iron until you have a long strip like
the picture below.


When you open the fabric, it should look this. (Picture Below)
You can now sew both ends together.
You will have a big tube with an opening on both sides.


Fold the bottom hem and pin all around. 
I did the top as well since it's a silk material
to prevent it from shredding apart
when it is washed.


Sew the hem all around. 


Okay guys here is where things changed a little! When I was about ready to attach the elastic to the skirt I realized that because my measurements were off a little, it wouldn't  work. Remember I had cut the width of my fabric at 29 inches and my elastic band was 27 inches? Yes, that was the problem. But I had a legitimate reason for that...I wanted the bottom of my skirt to be a little fuller so I can at least walk around in it! I was so sad because I didn't want to take it all apart and redo the whole thing again. But I am glad this wasn't the first maxi dress that I've done and I have learned from my previous projects some tricks and ways to fix little problems like these. So the solution to my problem was an elastic thread!

Here it is...so I changed my bobby thread 
to this and sewed the top of the skirt all around.
As you sew the fabric will begin to ruffle.
The skirt began to take shape and
I was now able to attach the elastic!


Sewing the elastic to the skirt.
I used the smallest zig-zag stitch all around. 
Pull the elastic towards you as you sew.


And Viola! Here it is without
the lining.


I was so excited when it was all done! The black polyester will be the lining of the skirt. As you can see from the picture, I have not attached it yet. But since I wanted to wear this for the 4th of July, I just slipped in a black thin skirt under and it worked just fine. The lining would have to be another project because I have not done any skirt lining before and I still need to do some research and figure it all out. Haha! But I was so proud of myself because it only took me a day and half to fix this cute skirt :) 
But do you get the picture? You can save a ton of money by making your own clothes! You might run into some problems here and there, few errors from time to time...but it is so much FUN! Hope you enjoy this DIY :D 


~Only in Ree's Closet~

Friday, July 4, 2014

4th of July Fun

Lately, I don't really get too excited for holidays. Gosh! A lot changes when you get married and have a child. Or maybe its just us? Lame! So for holidays we usually go to my sisters for food, hang out a little and then call it a night! So I was thinking this year will be the usual. But when the missionaries asked if we had any plans for the 4th? My response was a quick. NO! They were surprised with the answer I gave them because they were probably expecting me to say something else other than just no. They must have thought we were such a boring family! As they reluctantly asked if they could come over for the 4th since they had no dinner, I got excited all of a sudden. I think I am just realizing how much I enjoy the company of others and love cooking for people. I started planning it out the week before and I was looking forward to it.
So we decided to do our shopping on July 4th since we didn't get a chance to the day before. Bad idea! As we were ready to check out, an announcement was made that their computer was down. CHAOS!!! So a quick thirty minute shopping ended up being a couple hours longer :( This just messed up my whole schedule and the plan that I have prepared for the day was ruined. But we did not let this one hiccup of the day, destroy our 4th of July. We revised our plan as a family and made it work!

But before dinner we did some DIY's for the 4th and it was so much fun.


I painted my nails!


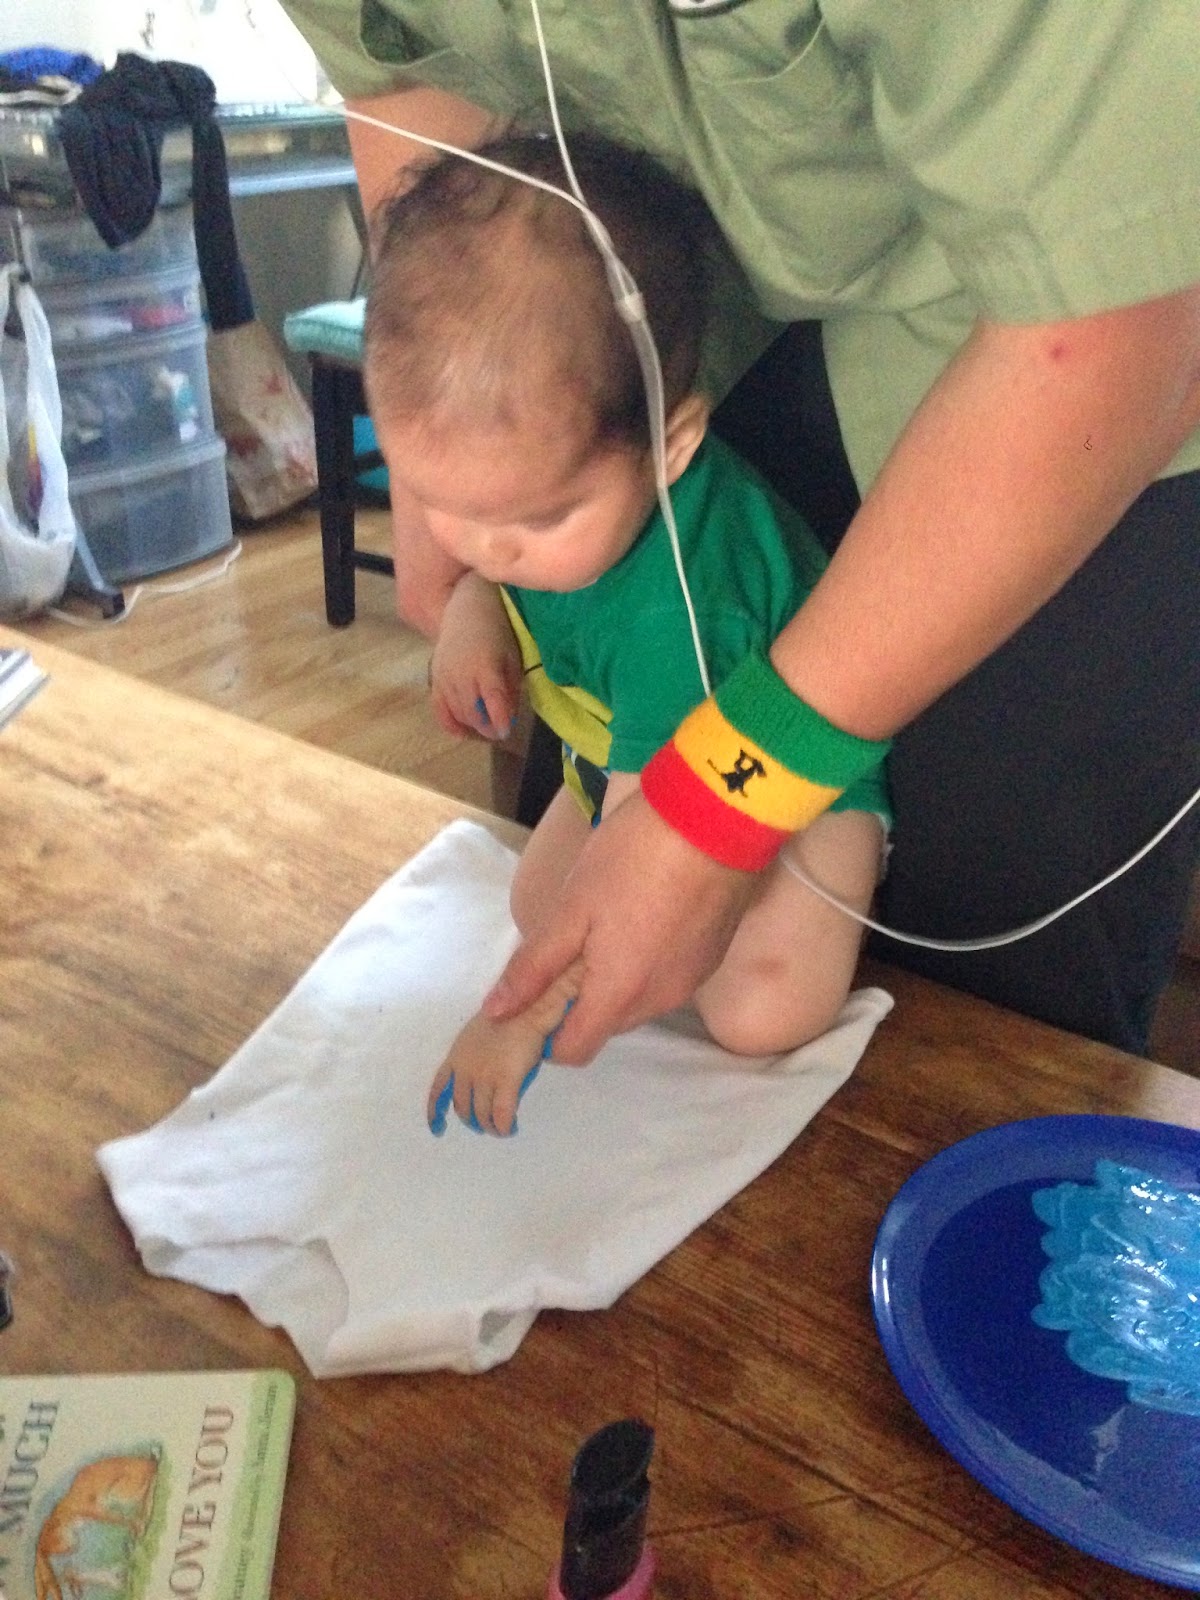
Laien made his own shirt.


Already dipping his hands in the paint...


Daddy had to come and help!!!


It was messy but fun :D


This was the difficult part :/


But with daddy's help we nailed it! 
And I had to finish the rest.


I had so much fun taking pictures of this hot stud of ours.


But he would not stay still...he had FUN too :D

**I am a little sad that we did not take a family picture. It is just so hard to get Ethan
to do pictures. SMH**
The missionaries came and helped with dinner after our family fun :)

Sister Keavali on the grill!


Sister Hancock modeling...
I don't have one of her
in the kitchen :( But she 
made the potato salad and it was delish!


We were enjoying our patriotic 
drink while waiting on the food!


Dinner served :)
We kept it simple...
Fried rice, potato salad BBQ chicken & hot dog.


Then enjoyed a yummy treat right after.
Gluten-free chocolate cake with
gluten-free cream cheese frosting!
Topped with strawberries and blue berries :D


Watching the Fireworks! 


Then there were too many mosquitoes 
so we had to watch from inside.


He had to eat again...
It was late too! 


Raskullz was too scared he
just wanted to be held. Yea, he thinks
his a lap dog!


And that's how we celebrated our 4th. Happy Birthday America :) We are blessed to live in a land that affords such freedom and opportunity, and that is protected by such brave men and women. 

Hope you all had a wonderful 4th!!!


Thursday, July 3, 2014

8 Simple Ways To Manage Opposing Feelings

Have you ever felt like screaming your brains out? Frustrated? Overwhelmed? Exhausted? Drained? All of the above? I am sure you have! We are all humans and these are some of the many hurdles that we go through in life. Well I have felt these feelings and they are not ones I like dealing with. We all have responsibilities, obligations and goals we need to accomplish daily, monthly and yearly. Some of them may be difficult than others, but all can burn you out and knock you down to the floor!
I, throughout the years have found myself CLEANING like a crazy to temporarily relieve the tension that builds within me. So when you ever visit me at my home and it's BLEACHED OUT...I had those moments ;-) I came across an article about parenting and dealing with a toddler's anger. As I read the eight points of what a parent needs to do, I had an aha moment. These are the same suggestions we can do for ourselves when we are having these gloomy feelings! 


"8 Simple Ways to Manage Opposing Feelings"
  1. Pray, Meditate. or Seek for inspiration.  I pray every-day for guidance so that I can know how to be a wonderful wife and mother. I also read my scriptures to help me understand who I am, God's plan for me and my family and what I need to do to receive those blessings. Having the hardest part of the day, saying a quick prayer in my heart will calm me down and give me the patienceI need for the day.
  2. Recognize that only YOU can control your own feelings. Be positive and set limits if you have to. For example, you can not control other peoples attitude and the way they see things, but you can control how you will respond to them. 
  3. Choose to look for the good. Focusing on the things that others do to annoy will be even more frustrating. Try avoiding those thoughts, and be grateful!
  4. Spend time with family & friend who are SUPPORTIVE. When the day seems like it is going downhill, go spend time with a friend or a family member. Just that time you spend with them will uplift your spirit and you will get a different perspective on how you deal with things. Or if they are too far from you, call them or send them a text...it HELPS...a lot!
  5. Ask for HELP! As easy as this may sound, it is not at all. I have the hardest time asking for help. The reason for this is that I feel like my duties need to be fulfilled on my own and asking for help from others, even from my own spouse is not allowed. But when I do ask Ethan for help and he actually does it willingly, it changes the spirit of our home and everyones HAPPY!
  6. Get plenty of SLEEP and EAT well. This is a hard one for me. Laien still wakes up at least twice a night on a good day! But most of the time I wake up every hour because he is out of his swaddle and is scratching. My lack of sleep causes me to crave for sweets to keep my sanity from erupting. But I have seen how my lack of sleep and unhealthy eating affects my state of mind.
  7. Exercising regularly. I am the worst when it comes to this and I need to do something about it! I have made a goal to wake up early in the morning to run. I know as I do this, I will set my whole attitude for the day. I miss being a missionary cause that was a part of the schedule :'(
  8. Last and most important: Give yourself a TIME OUT! I thought this was meant for Laien and Raskullz ;-P But I guess I need my time outs too. Removing myself from the situation. I have noticed that when Laien throws a tantrum because he doesn't get what he wants and I walk away from him...in a couple of minutes the outburst he had usually subsides. I have made it a goal that when these feelings occur, I will take the TIME OUT so I could calm down and be able to deal with the situation much better. 
I am excited to work on these specific steps daily so I can have better days. This checklist will definitely help me to be a better daughter, wife, mother and friend. I invite you to try it too and let me know by commenting below your experiences. I will too! Have a happy positive day :)